What Are The Benefits of Using a DRSABCD Action Plan
The DRSABCD action plan is an important plan that is put into action when an emergency arises. DRSABCD stands for…
Danger
The first and crucial step to take when approaching an emergency situation is to check for imminent danger. If you place yourself in a dangerous situation, you could quickly become a casualty yourself.
Examples of imminent danger may be if the casualty is in the line of traffic, or if they are attached to an electrical current. There may be falling objects or loose furniture posing a crush injury risk.
You must check for danger before moving toward the casualty. If the situation is too dangerous to approach, you must move to step 3 and Send For Help by calling the emergency services.
Response
Checking for a response is the next step in DRSABCD. We do this by holding the shoulders a giving a gentle squeeze, and calling the persons name or saying “Can you hear me?”
We no longer perform the sternum rub, this is quite painful and you could actually induce a reaction even when someone is semi-conscious. So this is not helpful in deciphering if someone is responsive or not.
If the person responds and open their eyes, they should be placed in the recovery position. Most of the time, we should sill send for help also, except when ther person recovers immediately and appears unhurt. That decision should always be made with the casualty. If in doubt, alwas get someone checked by a medical professional.
First Aid Training
* Recovery Position
Place the casualty on their left side (ideally, but the right side would also be ok), with their left arm out at a right angle. Their right arm will be folder over their chest with their palm under their left cheek.
The left leg would be almost straight and the right leg will be bent at a right angle to prevent the casualty rolling onto their front.
Tilt the head up slightly to help open the airway.
If the casualty does not respond, then we should move onto the next step of sending for help and then continuing with the DRSABCD action plan.
Send For Help
The next step in the DRSABCD action plan is to send for help by calling the emergency services.
If there is another person there, ask them to call the ambulance whilst you continue through the DRSABCD.
If there is a large crowd of people, point someone out specifically “You with the red trousers, call an ambulance”. In a large crowd, people tend to think that somone else has called an ambulance but actually no one has.
Ambulance times in metro parts of NSW are between 5-7 minutes, however regional and remote times can vary greatly.
Airway
The next step in DRSABCD is to check the casualties airway. If there is a foreign body in the airway and you are able to easily retrieve it with you thumb and fore finger, you can attempt this, but if the foreign object is right at the back of the throat and you cant get a hold of it, then you should use choking first aid either laying down if the casualty is unconscious or sitting up if the casualty is awake.
If there is vomit or fluid in the airway, roll the casulaty onto their side and help to remove the fluid by gently swapping your fingers just inside the lips and front teeth. Do not use your fingers to sweep to the back of the throat.
This may cause any foreign objects to be pushed further to the back of the throat.
If the airway appears clear, tilt the head to open the airway and move onto the next step in the DRSABCD action plan.
Emergency Situations
Breathing
The next step in DRSABCD is to check the casualties breathing. Tilt the head as previously mentioned. Now we use the LOOK – LISTEN – FEEL technique.
This is performed by lowering your cheek down to casualties mouth, facing down towards the toes. In this position, we are looking out for:
- Look – Watch for chest rise
- Listen – Hear breath sounds
- Feel – feel breath on your cheek
If the casualty is not breathing or not breathing properly, we move to the next step of starting chest compressions.
Cardiopulmonary Resuscitation (CPR)
If a casualty is not breathing, CPR should be commenced.
The casualty should be flat on their back on a hard surface. The exception to this rule is when a casualty is heavily pregnant.
The casualties head should be tilted slightly back, into the ‘sniffing’ position, to open the airway.
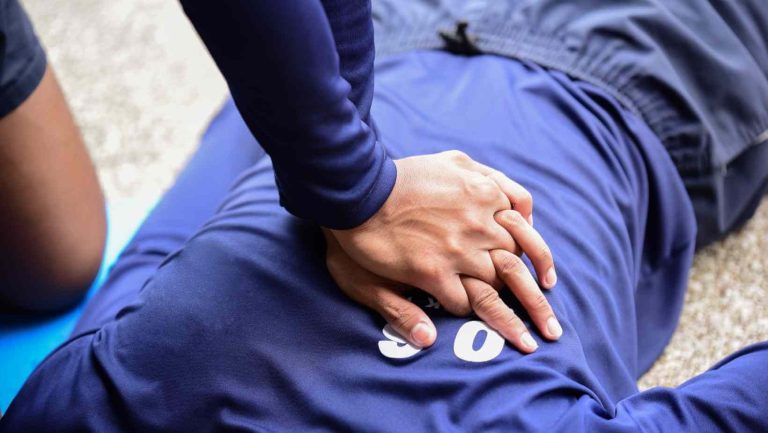
Chest compressions should be performed at a rate of 2 per second (or 100-120 per minute) and they should be ⅓ depth of the chest.
30 compressions should be performed before administering 2 rescue breaths.
Rescue breaths should be performed if the rescuer is willing and trained to administer them. If not, continuous chest compressions should be given.
Start by ensuring the head is in the sniffing position, the place your mouth around the casualties mouth creating a good seal, and pinch the nose closed. This ensures the breath only goes down into the lungs where it is needed.
30 chest compressions and 2 rescue breaths should be continuously given until:
- Help arrives to take over
- The casualty recovers
- The rescuer becomes physically exhausted
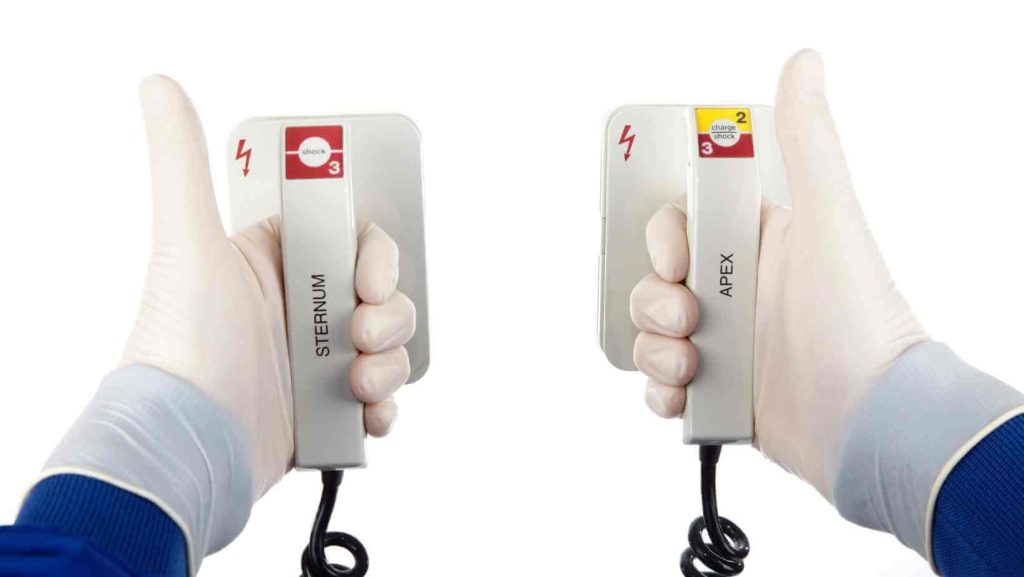
Defibrilation (automated external defibrilator)
If an AED (automated external defibrilator) is close by and available, retrieve it and apply the pads to the casualty as the packet instructions show you. Turn the AED on and wait for the instructions. The AED will tell you if the casualty needs to be shocked or not.
Want more? We’ve got you covered…
Our Baby First Aid Courses
Our baby first aid courses are available in person in your home and online. We run classes in your home with groups of 2, 4 or up to 10 in Sydney & Melbourne and you can book in 3 easy steps!
- Pick your class
- Follow the prompts to purchase
- We will contact you within 24 hours to lock in your date of choice
Our First Aid Certificate Courses
We run most of the popular first aid courses Australia wide. HLTAID011 Provide First Aid, HLTAID009 Provide CPR, HLTAID012 Provide First Aid in an Education & Care Setting, RAMOAP (anaphylaxis), Mental Health first aid and CPR/LVR to name a few.
Book your public spot online or contact us if you have a group of 5+ people for onsite training.
Here are some other resources you may enjoy!
FREE GUIDE: Your Virtual Baby First Aid Kit
FREE GUIDE: Introducing Common Allergy Foods & Allergic Reactions
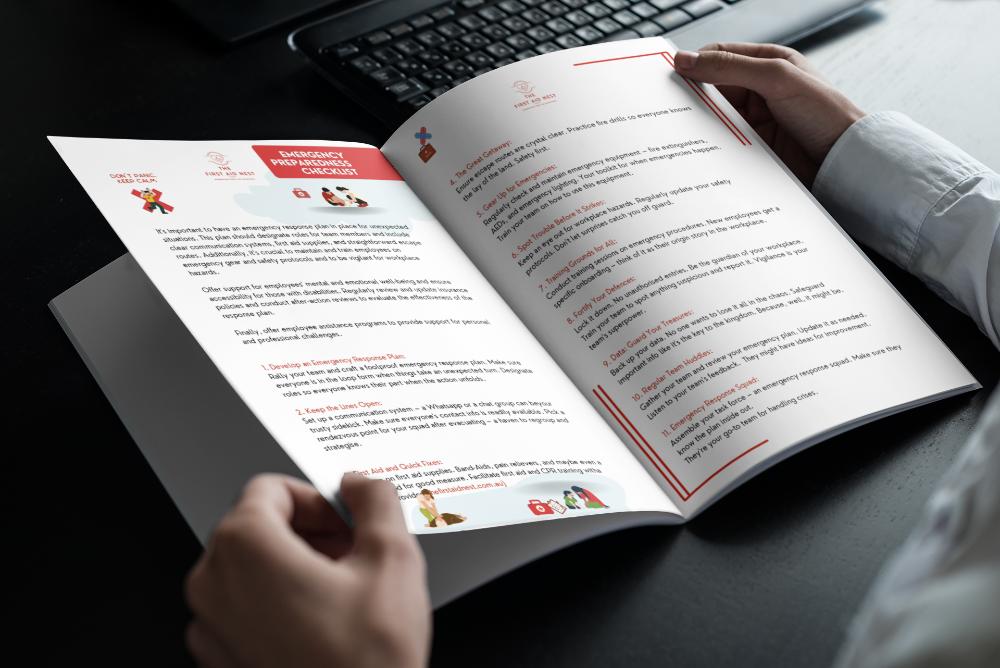
FREE Workplace Emergency Preparedness Plan: Grab this at the bottom of every page!
Follow for baby & child first aid and allergy info and tips on Instagram, TikTok & Facebook all @thenestcpr
