Why Is A DRSABCD Action Plan Important
DRSABCD Action Plan
In a dire emergency, it is always best to have a plan or a protocol. This helps rid the situation of confusion and everyone knows what it is that they are supposed to be doing.
Well first aid situations are no different and this is where DRSABCD was born.
First Aid with DRSABCD
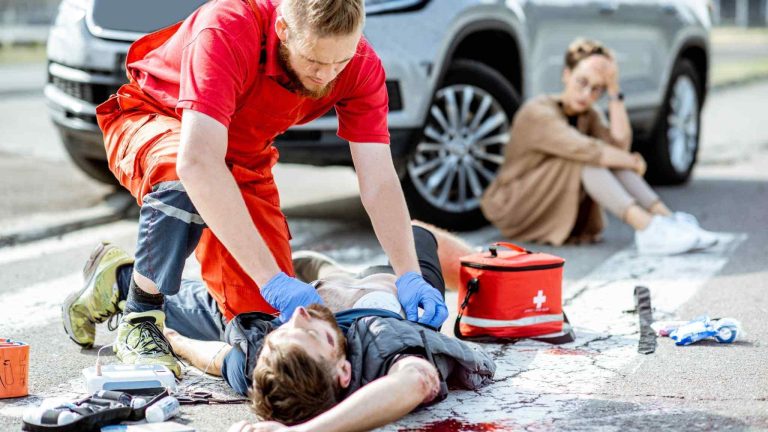
When we are witness to an emergency situation or we find someone unconscious, there are a few essential things we need to do, so that we don’t end up as part of the actual emergency!
DRSABCD stand for:
- Danger
- Response
- Send for help
- Airway
- Breathing
- CPR
- Defibrillation
You can download our DRSABCD poster here, on the ‘Resuscitation’ resource.
DRSABCD Action Plan
Danger
When we find a casualty unconscious, especially if it is a loved one, we may want to jump into the situation head first, but we must wait.
The first thing you must do in an emergency situation is scan the area for potential hazards.
Potential hazards could be
- Moving traffic – if there is danger from moving traffic, you can remove the casualty if it is safe to do so. Removing a person from immediate life threatening danger overrides any spinal injury risk. If it is not safe to remove someone from danger at the scene you must contact emergency services as soon as possible.
- Electrical sockets or currents
- Wet surfaces
- Lose or falling objects
The casualty should be approached only when you have determined that there is no direct risk to you.
Response
After removing the casualty from danger, you will need to check for a response.
Hold the casualties shoulders and give them a gentle shake, calling their name or just saying “hello can you hear me?”
If they respond by talking or opening their eyes and looking at you, then keep them calm, explain where they are and call emergency services. If they start to vomit, place them on their side in the recovery position so that their airway does not get blocked with vomit.
If they don’t respond, we move to the next step of sending for help.
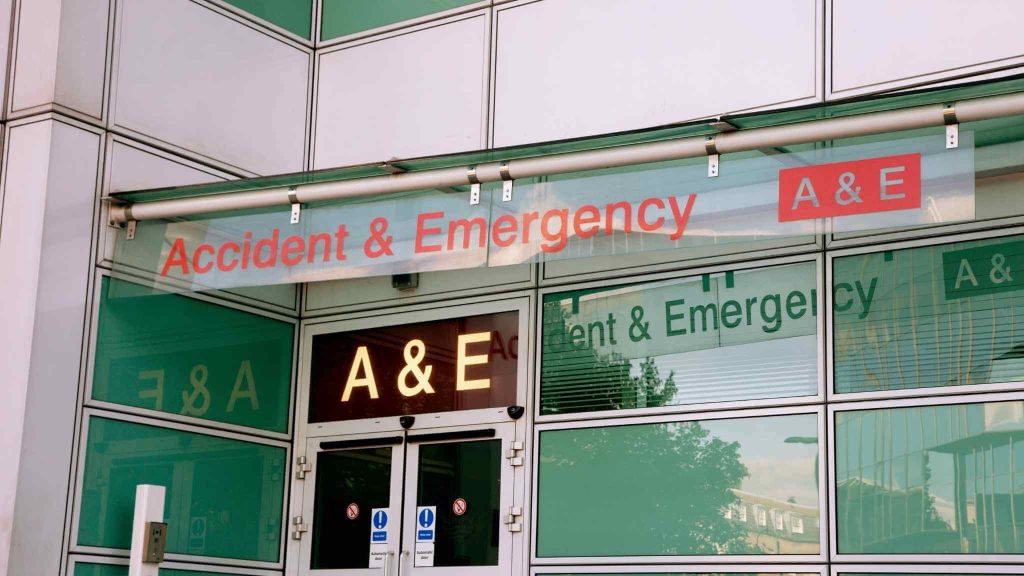
Send for help
Call emergency services or ask someone else to call for help. If there is more than one person present, ask the other person to call the ambulance and open any access points for the emergency services, while you continue to assess the victim. Point out someone specifically to call the ambulance. “You with the green tie, call an ambulance’.
Airway
Check the casualties airway. If the victim is over one year of age, tilt their chin up slightly and check inside the mouth. If the child is under 12 months, keep the head in a neutral position.
Check inside the mouth for any foreign object or fluid.
If there is fluid in the mouth, turn the person onto their side so that the fluid can drain out. You can use your fingers to help remove the fluid just inside the lips. DO NOT sweep your finger deep into the mouth. If you can see a foreig object and it looks like you can retrieve it with your thumb and forefinger, then you can attempt to remove it, but if it is deeper down the mouth or throat and you are not able to easily grip it, do not attempt to remove it.
If the airway looks clear, move onto the next step and check breathing
Breathing
When checking if a victim is breathing we use the Look, Listen, Feel method.
Place your head down so that your cheek is just above the casualties mouth and you are looking down towards their toes. Stay in this position and look, listen and feel for 10 seconds. It may seem like a long time but this step is important.
- Look – checking for chest rise
- Listen – listen carefully for breath sounds
- Feel – feel for breath on your cheek
If the casualty is breathing, place in the recovery position. If they are not breathing, start the next step, which is CPR
First Aid Training is essential to be confident with CPR
CPR
Cardiopulmonary resuscitation should be commenced if a casualty is not breathing. We no longer check for a pulse before commencing CPR.
CPR is 30 chest compressions to 2 rescue breaths.
CPR should be given to a casualty laid flat on the floor, not on a soft surface. If the casualty is on a soft surface, the chest compressions will not be as effective.
- Kneel next to the casualty and raise up on your knees, so that you are positioned above the casualty.
- Lock your two hands together one on top of the other, fingers interlaced. Place the heel of your hands in the centre of the chest, between the nipples.
- Push down 30 times in a short sharp motion, approx ⅓ of the depth of the chest at a rate of 2 compressions per second
- Administer 2 rescue breaths. Remember to tilt the head back slightly if the casualty is over 12 months. If the child is under 12 months, leave the head in a neutral position.
- Have one hand on the chest when doing this so that you can feel the chest rise.
Check out our information on child first aid and CPR here.
Rescue breaths should be administered if you are willing and have the training to do so. Otherwise you should administer continuous chest compressions.\
Continue CPR until either:
- Emergency services arrives
- The casualty recovers
- You become physically exhausted
Defibrillation
If a defibrillator is available, retrieve it or ask someone else to while you assess the casualty.
Place the defibrillator pads on the casualties chest as per picture on the pads, turn on the defibrillator and listen for voice prompts.
First Aid Courses
The First Aid Nest specialise in group workplace first aid Australia wide.
Choose from various different delivery options from 80% online to 100% full face to face. It’s entirely up to you and how your workforce would best learn.
Contact us today or simply book via our website and we will be in touch within 24 hours to lock in a date for you. We can’t wait to meet you!