Under Pressure: The Art of Mastering Bleeding Control in First Aid
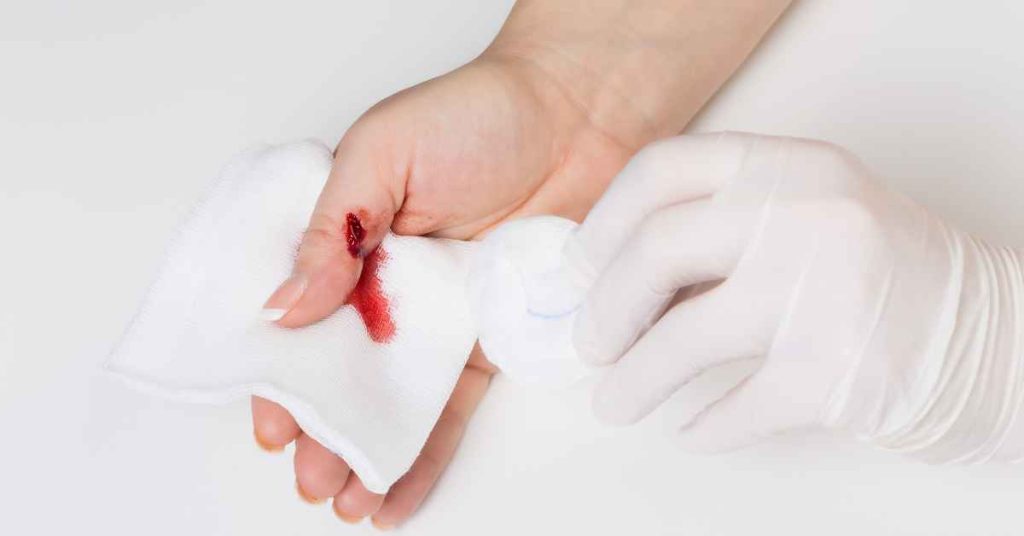
In the realm of emergency first aid, controlling bleeding is a critical skill that can mean the difference between life and death. Uncontrolled bleeding is one of the leading causes of preventable deaths in trauma situations. Understanding how to manage bleeding effectively is therefore a vital component of first aid knowledge.
Bleeding can be broadly classified into three types: arterial, venous, and capillary, each with its own level of severity and specific approach to management.
Arterial bleeding, characterized by bright red blood that spurts with each heartbeat, is the most dangerous and requires immediate action.
Venous bleeding, though less severe, still poses significant risks if not controlled promptly.
Capillary bleeding, the most common and least severe, often resolves on its own but can be a concern if persistent.
This introduction aims to highlight the crucial role of bleeding control in first aid and provide a foundational understanding of the different types of bleeding and the risks associated with each.
Understanding Different Types of Bleeding
In emergency first aid, recognising the type of bleeding is crucial for applying the correct treatment. Bleeding is generally categorized into three types: arterial, venous, and capillary, each with distinct characteristics and associated risks.
Arterial bleeding involves a damaged artery and is the most severe due to the high pressure of the blood flow, leading to rapid blood loss.
Venous bleeding, resulting from a damaged vein, is less severe but can still be life-threatening if not controlled.
Capillary bleeding, the most common and least severe type, occurs at the skin’s surface. Understanding these differences is key to effectively managing a bleeding emergency, as the approach for controlling each type varies significantly.
- Bright red blood that spurts or pulses with the heartbeat.
- High risk of rapid and significant blood loss, leading to shock or death.
- Requires immediate medical attention and aggressive bleeding control measures.
- Darker red blood that flows steadily or gushes.
- Slower than arterial bleeding but can lead to substantial blood loss over time.
- Control is usually achievable through direct pressure and elevation.
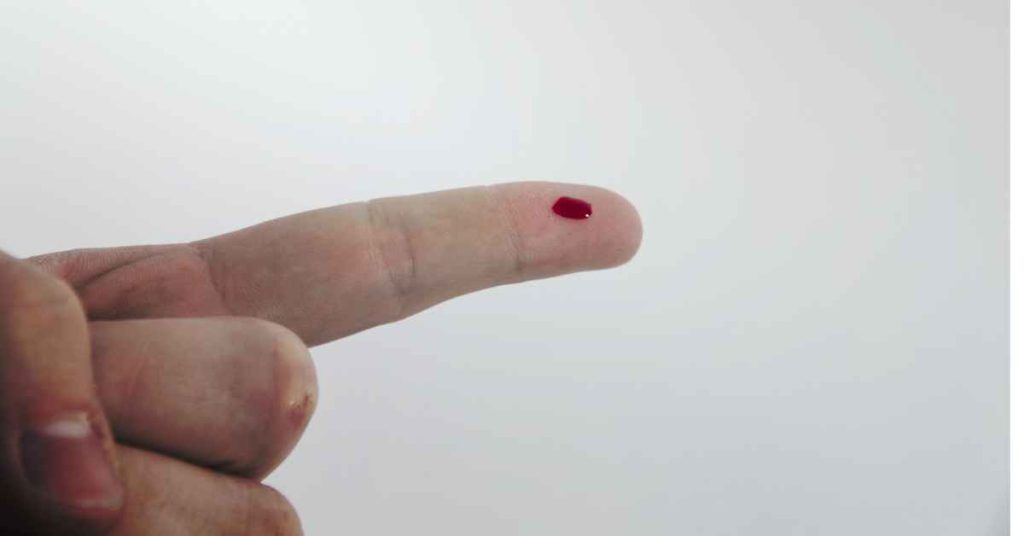
- Blood oozes slowly from the wound.
- Least severe and often stops on its own or with minimal first aid.
- Risk of infection if the wound is not properly cleaned and dressed.
Identifying the Bleeding Type:
- Observing the color and flow rate of the blood to determine the type of bleeding.
- Recognizing the source of the bleeding can also help in identification.
Dangers Associated with Each Type:
- Arterial: Rapid loss of consciousness and life-threatening shock.
- Venous: Accumulation of significant blood loss over time.
- Capillary: Lower risk but potential for wound infection and delayed healing.
Immediate Actions: First Steps in Bleeding Control
In any first aid situation involving bleeding, the initial actions taken can significantly impact the outcome. The first and perhaps most crucial step is to remain calm.
Maintaining composure not only aids in clear thinking and effective decision-making but also helps to reassure and stabilize the injured person.
Next, a rapid assessment of the scene is necessary to ensure the safety of both the rescuer and the injured individual; this includes identifying any ongoing threats that could exacerbate the situation. Once the scene is deemed safe, immediately calling for emergency medical help is imperative, especially if the bleeding is severe.
These early actions set the stage for effective bleeding control and can be the difference between life and death in critical situations.

- Importance of remaining composed to assess the situation accurately.
- Calmness can be reassuring to the injured person, reducing their anxiety and stress.
- Quickly evaluating the environment for potential hazards.
- Removing or avoiding dangers like traffic, fire, or unstable structures.
- Promptly dialing emergency services for professional medical assistance.
- Providing clear and concise information about the location and nature of the injury.
Immediate Assessment of the Injury:
- Rapidly determining the severity of the bleeding.
- Identifying the type of bleeding (arterial, venous, or capillary).
- Using gloves or a barrier if available to minimize the risk of bloodborne pathogen exposure.
- Considering personal safety while delivering first aid.
Preparing to Administer First Aid:
- Gathering or identifying first aid supplies like bandages, cloth, or tourniquets.
- Positioning yourself and the injured person effectively for treatment.
Direct Pressure: The First Line of Defense
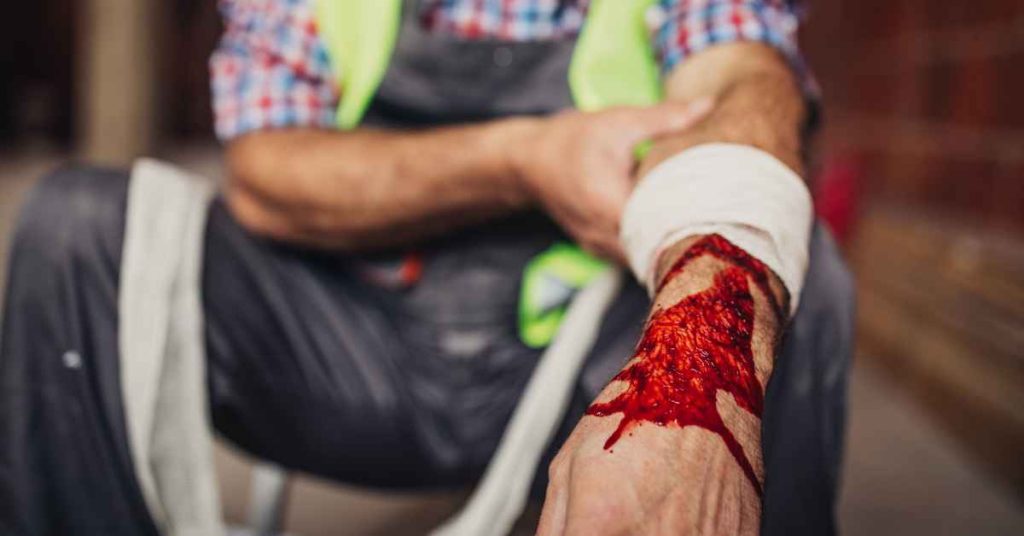
Direct pressure is a fundamental and highly effective first aid technique for controlling bleeding. It involves applying steady and firm pressure directly to a wound, which helps to stem the flow of blood and encourages clotting.
When executed correctly, direct pressure can significantly slow down or even stop bleeding, buying crucial time until medical help arrives.
The technique typically involves using a clean cloth or bandage to cover the wound, followed by the application of pressure using the hands. In some cases, especially for more severe wounds, pressure dressings may be required to maintain constant, firm pressure.
Basic Technique for Applying Direct Pressure:
- Cover the wound with a clean cloth or sterile dressing.
- Place your hand over the dressing and apply firm, steady pressure.
Using Clean Cloth or Bandages:
- Importance of using a clean material to reduce the risk of infection.
- What to do if a sterile dressing is not available.
- Keeping pressure constant and not removing the dressing to check the wound.
- How to handle a situation where blood soaks through the dressing.
- When and how to use a pressure dressing.
- Wrapping the dressing around the wound securely without cutting off circulation.
- If safe and practical, elevate the injured area above the heart level while applying pressure.
- Understanding when elevation is not appropriate.
Monitoring the Injured Person:
- Watching for signs of shock or changes in the person’s condition.
- Continuously assessing the effectiveness of the pressure being applied.
Elevation and Its Role in Controlling Bleeding
Elevation is a supportive technique in bleeding control that, when used in conjunction with direct pressure, can be effective in reducing blood flow to a wound.
This method involves raising the injured area above the level of the heart, which helps to slow the bleeding by reducing the blood pressure in the wounded area.
Elevation is most effective for limb injuries, where gravity can assist in reducing the flow of blood. However, it’s important to understand the limitations and appropriate contexts for using elevation, as not all injuries will benefit from this method. In cases of suspected fractures or spinal injuries, elevation might not be advisable.
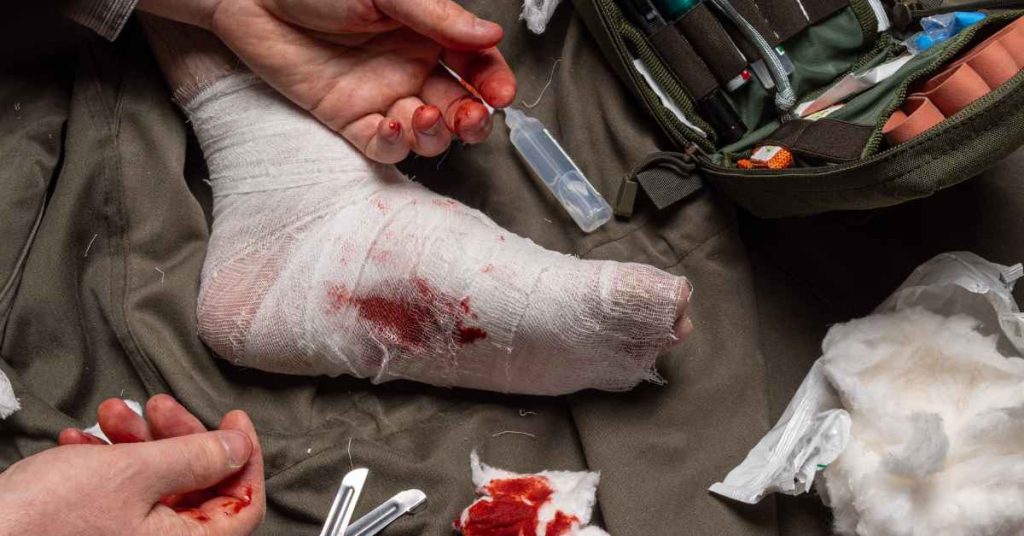
- Appropriate for bleeding injuries on limbs (arms and legs).
- Most effective when combined with the application of direct pressure.
How to Elevate an Injured Limb:
- Gently raise the injured limb above the level of the heart.
- Use pillows, folded clothing, or other available items to support the limb in the elevated position.
- Avoid elevation in cases of suspected broken bones or spinal injuries unless the injury has been stabilized.
- Be cautious not to cause additional pain or injury while elevating.
Monitoring the Effectiveness of Elevation:
- Observe the wound for any changes in bleeding after elevation.
- Continue to apply direct pressure even while the limb is elevated.
Situations Where Elevation is Not Appropriate:
- Do not elevate if it causes increased pain or discomfort to the injured person.
- Injuries where movement could exacerbate the condition (like deep lacerations or embedded objects).
- Be mindful of the person’s overall comfort and pain levels.
- Elevation should be used as part of a broader approach to bleeding control, not as a standalone method.
Tourniquets
Tourniquets are reserved for instances of severe, life-threatening limb bleeding when direct pressure fails to manage the situation. Use a broad bandage (minimum width of 5cm) as a tourniquet, placing it 5-7 cm above the site of bleeding. Ensure the bandage is tightened sufficiently to halt all blood flow to the affected limb, effectively controlling the hemorrhage.
The First Aid Nest run public and workplace first aid courses, Australia wide.
Our workplace first aid courses can be run at your site.
Our public classes are here in Sydney and are the best option if you are an individual, a couple or a group
of just a few people.
Our sophisticated system will take the headache out of renewal for you too. Lose your certificate? No problem, just log in and download your certificate again anytime. We will also send you reminders about when your certificate is about to expire!
Book your spot or workplace with us today, contact us with any questions, or head to our FAQ page.
